How to use WordPress as a static website generator. In this guide we are going to use WordPress along with the Simply Static plugin to generate a static site. This website will consist of just client side files (.html, .js, .css, .xml and images).
Table of Contents
- Introduction
- Installing WordPress
- Password Protect WordPress Installation (optional)
- Install Simple Static Plugin
- Upload & Configure Static Site
Introduction
What are the advantages of using a static site over the WordPress installation itself? The main advantages are security and performance. We’ll password protect the whole WordPress installation since we are the only ones accessing it (to add posts and generate the static site).
The guide will start by covering how to install WordPress on 1&1 IONOS hosting, although you could install WordPress locally or use any other host that supports the WordPress requirements. 1&1 IONOS WordPress hosting has the advantage that we can install WordPress in just a few clicks to get things up and running very quickly. We’ll host WordPress and the static site using the same 1&1 IONOS hosting package, but the static site could be hosted with another service such as AWS S3.
Installing WordPress
If you’re going to use 1&1 IONOS to host WordPress, select a WordPress hosting package. Their Essential WordPress package is currently £2/month for the first 12 months and their business package is £1/month for the first 12 months, check your country’s IONOS site (US, GB, CA, DE, FR, IT, ES) for the price in your currency. Both packages include a domain name for 1 year and an SSL certificate. If you already have a domain name to use, you can skip registering a new one during sign-up.
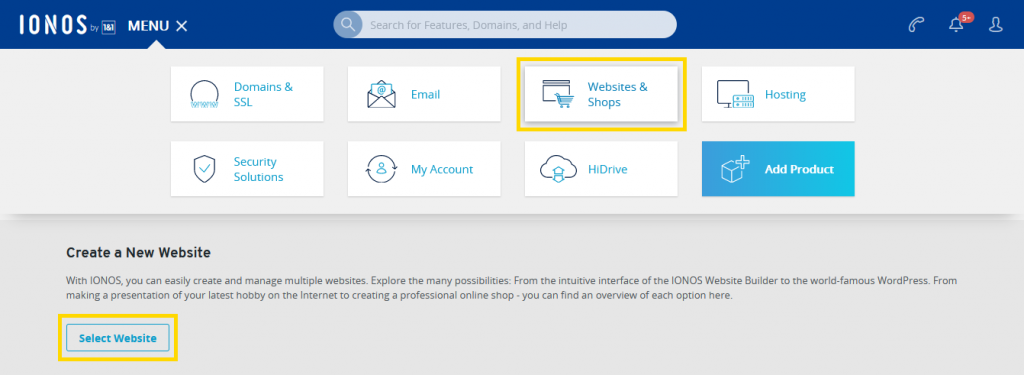
After adding the hosting package to your IONOS account, we can start installing WordPress. Login to IONOS and go to ‘Websites & Shops’ from the main menu. Under ‘Create a New Website’, click the ‘Select Website’ button.
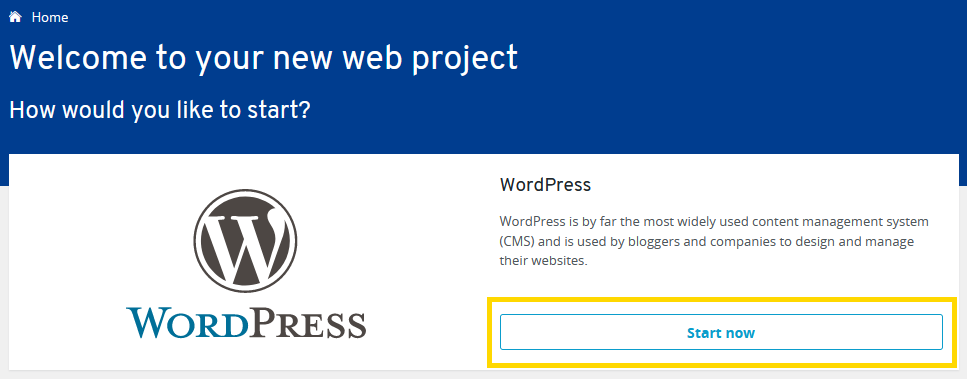
Choose WordPress from the list of available project types.
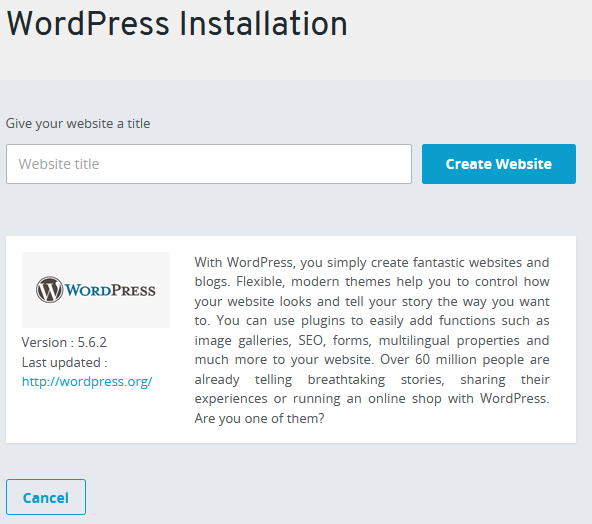
Enter a name for your website and click ‘Create Website’.
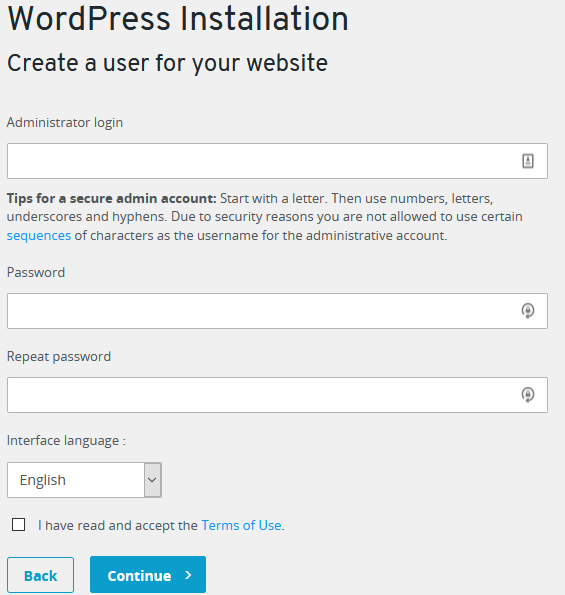
Next, enter a username and password for the WordPress admin account.
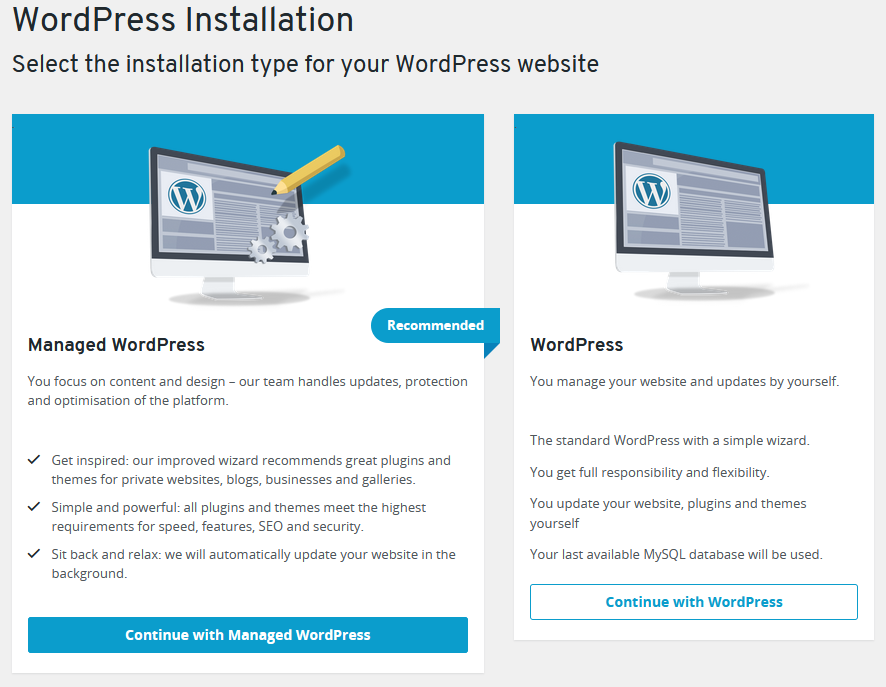
Now we can select the type of WordPress installation, managed or standard. We’re going to go with standard since not all plugins and customisations to the WordPress installation are possible with the managed version. The standard version of WordPress can still automatically update plugins, themes and WordPress itself (WP-Cron runs on each page load and checks for updates).
Next, select the domain name to use.
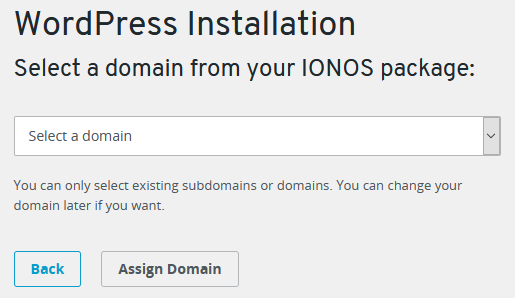
If your domain name isn’t appearing in the list, it may not be added to your WordPress hosting contract. If you go to the ‘Domains & SSL’ section of your IONOS account and select your domain name you can see which contract the domain name is on. There may be an option here to ‘Transfer Domain to Another Contract.’ If your domain name is an external one (with another registrar) that you’ve added to IONOS, you may need to remove the domain and choose your WordPress contract in the Contract Selection dialogue when re-adding the domain.
Since we’re just using the WordPress installation for adding posts and generating the static site, you may wish to use a subdomain to access WordPress. You can create a new subdomain in the ‘Domains & SSL’ section of your IONOS account.
After selecting a domain, wait for the WordPress installation to complete.
Password Protect WordPress Installation (optional)
There are number of ways to enhance the security of the WordPress installation. Since we’re using WordPress to generate a static we can add a password to the entire WordPress installation (this is in addition to the admin page login).
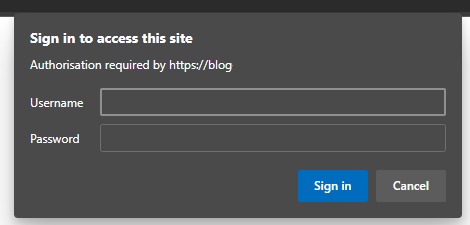
To do this we need to set-up Basic HTTP Authentication. This will cause a dialogue box to appear asking for a username and password when anyone tries to access the WordPress application via a web browser.
We just need to create two files, called .htaccess and .htpasswd, and upload them via SFTP to get the authentication set-up.
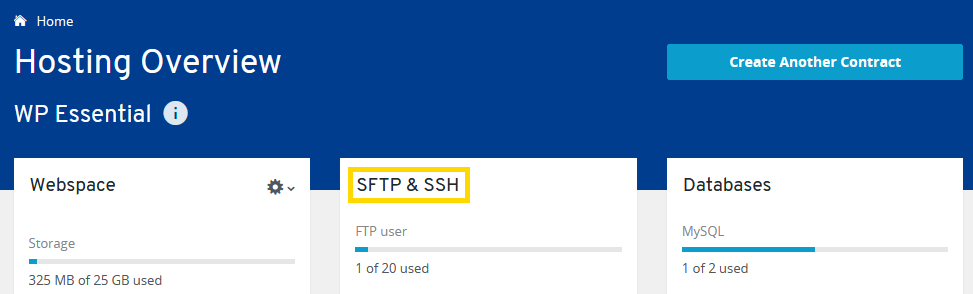
To get SFTP access, login to your IONOS account and select ‘Hosting’ from the main menu. Go to hosting page for your WordPress contract. Under ‘SFTP & SSH’, click the option to set-up your FTP user account. Once set-up, go to the ‘Settings & Connection data’ page for your FTP user. Here you can download a file containing your user’s connection settings that you can import in to your FTP application. Click ‘Download configuration for FileZilla’ to download the configuration file for FileZilla.
Now, download and install the FTP application FileZilla. Open FileZilla and go to File -> Import. Select the downloaded configuration file. After importing, go to the Site Manager (File -> Site Manager) and click the ‘Connect’ button. Enter your FTP user’s password when prompted.
In your FTP application, navigate to the folder containing your WordPress installation and download the .htaccess file in this directory.
Open the .htaccess file and add the text below, replace username with your desired login name.
AuthType Basic
AuthName "Login Required"
AuthUserFile /kunden/homepages/xx/xxxxxxxxxx/htdocs/.htpasswd
require user username
To get your path to enter for ‘AuthUserFile’ go to your webspace in the hosting section of the IONOS website, click the cog icon next to a file and click ‘Show details’. Under absolute path will be a string such as ‘/kunden/homepages/xx/xxxxxxxxxx/htdocs/index.html’. Use this to adjust the AuthUserFile line for your webspace in the .htaccess file. See this article on IONOS Help if you’re having trouble finding the path.
To create the .htpasswd file, refer to this short guide on the EndingSoon blog or use one of the many htpasswd generator online tools.
Now, using FileZilla, upload .htpasswd to your ‘htdocs’ folder. Upload .htaccess to the folder containing your WordPress installation.
Go to your WordPress website in a browser to test the authentication. A dialogue box should appear prompting for your username and password.
Read the problem resolution section of the Password-Protected WordPress Login page on IONOS if you have trouble getting the authentication to work (but remember we’re adding a password to the whole WordPress installation, not just the wp-admin folder.)
Install Simply Static Plugin
In your web browser, go to the wp-login.php page of your WordPress installation. Login using the admin account details you created when going through the WordPress setup on IONOS.
Go to the WordPress admin page (/admin) and select Plugins -> Add New from the menu.
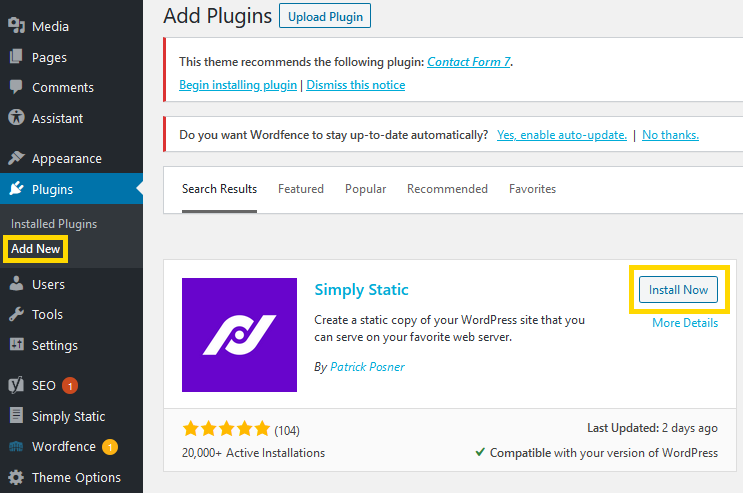
Add the following plugins:
At a minimum, we only need the Simply Static plugin, but we’ll cover getting the static site generator to work with the Yoast SEO plugin.
After installing Simply Static, a new menu entry called ‘Simply Static’ should appear in the admin menu. Click it to configure the plugin.
Under the general tab, we can adjust the links that will appear on the static site. Relative URLs are selected by default, but you may wish to switch to absolute URLs. I noticed that with relative URLs selected, certain URLs (such as the URL in the <link rel=”canonical” href=””> element and in my theme’s social media sharing links) appeared as relative rather than absolute. If you select absolute URLs, enter the address that will be used to go your static site.
In the ‘Delivery Method’ setting, change the selection from ZIP archive to Local Directory. When we generate the static site, all the site files will be placed in this directory. We can then download these files via FTP and transfer them to wherever we are going to host the static site.
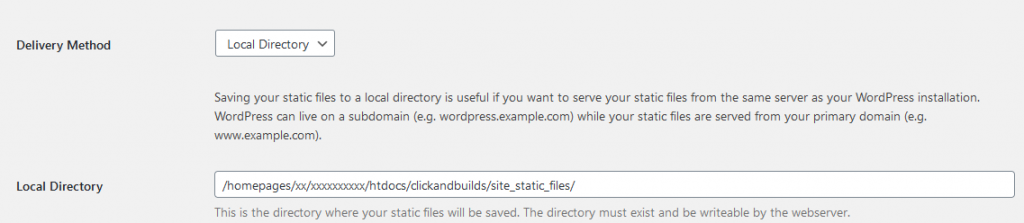
Create a new folder using your FTP client and add the folder’s absolute path to the local directory setting field. In the image above, I created a folder called ‘site_static_files’ to store the files in.
Next, go to the ‘Include/Exclude’ tab of the Simple Static plugin settings page. In the ‘Additional URLs’ text box, add the following URLs:
https://wordpress.mydomain.com/sitemap.xml
https://wordpress.mydomain.com/wp-content/plugins/wordpress-seo/css/main-sitemap.xsl
Replace ‘https://wordpress.mydomain.com’ with the URL to your WordPress installation (not the address that will be used for your static site.)
Now, go to the Advanced tab of the Simple Static plugin settings page and enter your HTTP basic Authentication username and password that we setup in the previous section.
That’s it for configuring the Simply Static plugin! We now have a WordPress installation that can be used as a static site generator. We can go ahead and generate the static site. However, you may wish to install a theme first. There are many free themes to choose from. The ‘Breek’ theme that this blog uses is a paid theme available from ThemeForest.
When you’ve installed and configured your theme, go to the Simple Static generate page and click the ‘Generate Static Files’ button.
If everything went well, your static site files should now be in the folder specified when configuring Simple Static. Download them via FTP and test your site by opening the index.html file in your browser.
Upload & Configure Static Site
Complete the steps in this section if you’re going to host your static site with IONOS using the WordPress hosting package purchased earlier or another IONOS contract that has webspace.
Select ‘Domains & SSL’ from the IONOS menu and then select the domain that is going to go to your static site. The domain name should be on an IONOS hosting contract that has webspace. If you’re going to use a subdomain to go to the static site, go to Subdomains tab and select the subdomain you are going to use.
If your domain name is with a registrar other than IONOS, you can connect it with your IONOS account (without changing registrar) so that it can be used with IONOS hosting. This process doesn’t require you to change to IONOS nameservers, but it can simplify things to use the IONOS ones. When adding the domain remember to select the correct IONOS contract.
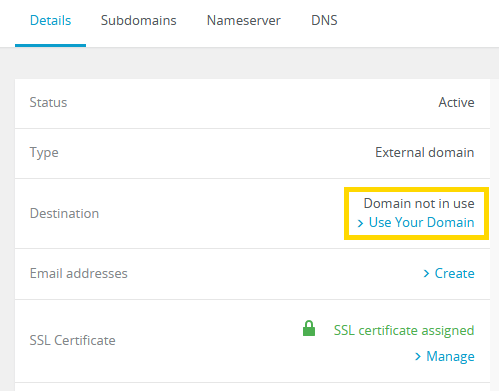
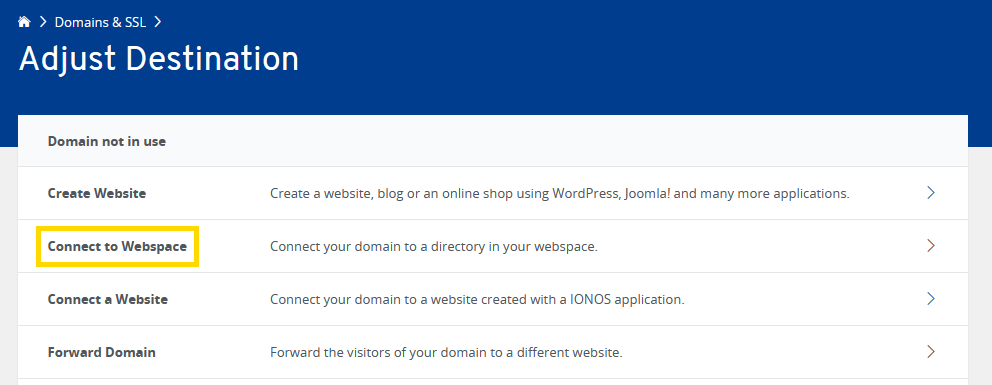
After selecting the domain (or subdomain), you can view the domain’s destination under the Details tab. Here there should be an option to ‘Use your domain’ or ‘Adjust Destination’. Click this option and then select ‘Connect to a webspace’.
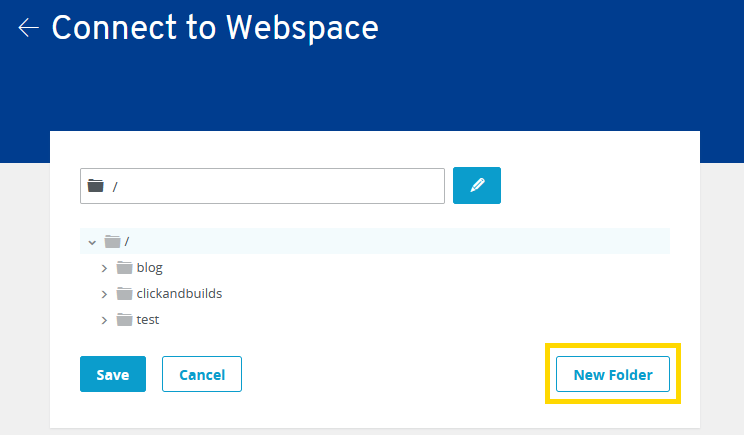
Now create a new folder at the top-level of your webspace and click save.
Connect to your hosting again using FTP and you should see the folder we just created and connected to the domain. Upload your static site files to this folder via SFTP.
Each time you add a new post remember to generate the static site and upload the files.
Improve your WordPress Static Site + Generator
- Test your site speed with Google PageSpeed Insights
- Add more posts in WordPress then generate and upload the static site files again
- Enable an SSL certificate
- Install a WordPress security plugin
- Submit your sitemap_index.xml to Google Search Console and Bing Webmaster Tools.
- Add a 301 redirect from /sitemap.xml to /sitemap_index.xml
📝Article last updated on May 29th, 2023